ROS 3D Widgets
In order to visualize robots in the Jupyter notebook, jupyter-ros ships with the ros3d widgets. Jupyter widgets (ipywidgets) allow for communication between the Python “Kernel” and the JavaScript frontend.
For jupyter-ros, we have utilized the powerful ROS3D.js library to create widgets for the jupyter notebook frontend. That means that it’s easily possible to create some robot viewers inside the notebook!
from jupyros import ros3d

v = ros3d.Viewer()
v.objects = [ros3d.GridModel()]
v

ROS3D communicates with ROS via websocket. This communication is configured through the jupyter widgets protocol, but you are also required to run the “rosbridge websocket” package in your ROS environment (or launch file).
For this, you need to make sure that you have ros-noetic-rosbridge-suite
and ros-noetic-tf2-webrepublisher.
Then you can run the following launch file to start up the necessary servers:
<launch>
  <include file="$(find rosbridge_server)/launch/rosbridge_websocket.launch" />
  <node pkg="tf2_web_republisher" type="tf2_web_republisher" name="tf2_web_republisher" />
</launch>
Warning
The currently shipped rosbridge suite uses a very old version of the Tornado web server. This version is incompatible with the more recent version used by Jupyter. If you run both (Jupyter and rosbridge) from the same Python environment, it is likely to silently fail (no connection from the ROS 3D widgets to the rosbridge).
Therefore we recommend to separate the two environments by using conda, and a generated ROS kernel.
Once the rosbridge websocket is running, we can configure a ROS connection in the Jupyter notebook, and subscribe to a topic. For example, in order to subscribe to a laser scan we can use the following code:
from jupyros import ros3d

v = ros3d.Viewer()
rc = ros3d.ROSConnection(url="ws://localhost:9090")
tf_client = ros3d.TFClient(ros=rc, fixed_frame='')

laser_view = ros3d.LaserScan(topic="/scan", ros=rc, tf_client=tf_client)
g = ros3d.GridModel()
v.objects = [g, laser_view]

v
This will now attempt to connect to the websocket at ws://localhost:9090
(which should be the address given to the rosbridge). And if successful, it
should receive data from /scan topic and display it in the 3D viewer.
Note that, similar to RViz, you can select a fixed frame, which will appear at the origin of the viewer.
Besides the laser scan view, you can add many other visualizations to the
viewer. ROS3D contains classes for a Robot (URDFModel), occupancy grid
(OccupancyGrid), regular and interactive markers (Marker and
InteractiveMarker), Pose, Polygon, PoseArray, Path, and
PointCloud.
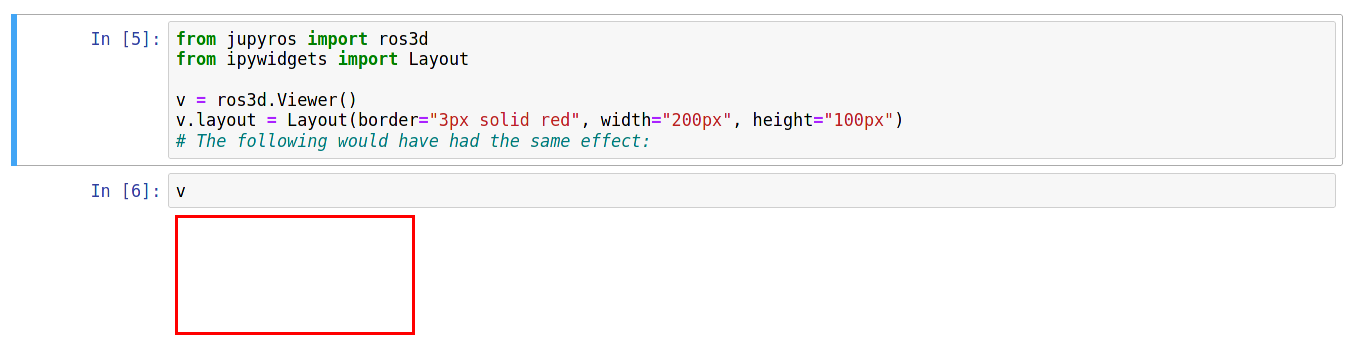
If you want to visually change how your Viewer looks, you can use the layout attribute (this works the same way across many of the ipywidgets).
from jupyros import ros3d
from ipywidgets import Layout

v = ros3d.Viewer()
v.layout = Layout(border="3px solid red", width="200px", height="50px")
# The following would have had the same effect:
# v.layout.border = "3px solid red" ...